

A step-by-step taper
October 4, 2022
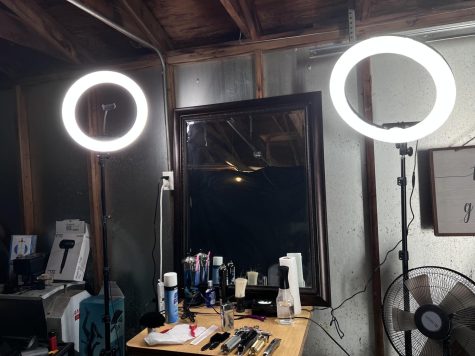
Clippers. Trimmers. Guards. Combs. Brushes. A cape. Hair products.
All can be found in a garage barbershop, such as Tony’s Garage, a newly-launched business in West Chicago started by this reporter. Stay tuned for haircut tutorials, tips and tricks.
Tony’s Garage offers a barber’s trim, using scissors and razors. Although barbering is not a skill anyone can simply pick up, you can learn some hair care basics by watching “YouTube” videos or following these simple instructions for a taper fade.
Step 1: Guard 3 closed (debulk)
-First, you debulk the hair to get rid of some of the length, and create a shape that will be easier to start fading.
Step 2: Base line with trimmer
-It is important to start a guideline with the trimmer by making a straight line at the base of the hairline.
Step 3: Shaver (will last longer)
-Hit with a shaver (lightly) under the guideline for a longer lasting haircut.
Step 4: No guard open/closed
-With clipper levers going up is open which cut less than down is cutting more so with the lever open we are going to set another guideline then close, we are going to erase it but with corners so we wouldn’t take too much hair off.
Step 5: one guard ¾
-With a one guard we are going to be fading up so there are 4 levels on lever on the clipper: increase the level, going one up, to make another guideline.
Step 6: one ½ closed/open
-Now with a 1 ½, we want to blend. With the lever on the clipper all the way up, you want to start bringing together the two sections by hitting the lower section with corners, adding another light line
Step 7: ½ guard open/closed
-With the half guard, start hitting the middle – between 1 ½ and 1 guard – with its corners. Be careful not to use a full blade because doing so would cause a bald spot.
Step 8: Line up the sides
-Grabbing the trimmers, start lining up the sides so as to give the fade a cleaner look. Eyeball each side to make sure the look is precise and clean.
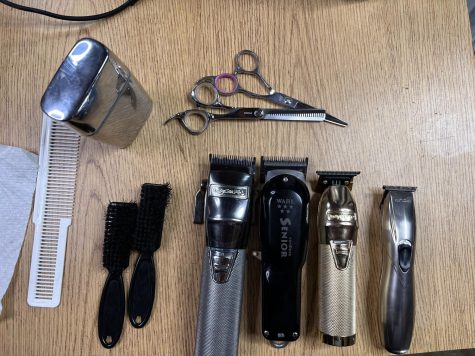
1x thinning shears (Photo by Anthony Cortez)
Step 9: Detail, detail, detail
-Repeat the previous steps, adding detail. Go over the hair and look for dark spots. These are spots that need to be lightened up so they can blend in, and customers will not see problem issues once they look at themselves in the mirror.
Step 10: Back → sides
-What you did to the back, you now want to repeat with the sides. Follow the same procedure.
Step 11: Shear work
-Section off the hair to trim the top. For example, if the client requested ½ inch off the top, wet the hair so it will be easier to grip on. Take the shears in one hand and begin to cut, but DO NOT GO PAST YOUR KNUNCKLES, YOU WILL CUT YOURSELF.
Step 12: Line-up the hair
-Line up the hairline (along the forehead) for a better presentation (and as requested by client). Start with the middle and go off whatever side is higher or lighter in a straight line. Take your time: if you rush the process, you might raise the hairline too much, and it will not appear natural-looking.
Do not be discouraged if your first few fades do not turn out exactly as you envisioned. Keep going: every attempt is a learning lesson, and patience is key.
The best advice is to invest in quality and professional clippers.


Joe • Oct 6, 2022 at 5:53 pm
Best barber out there