


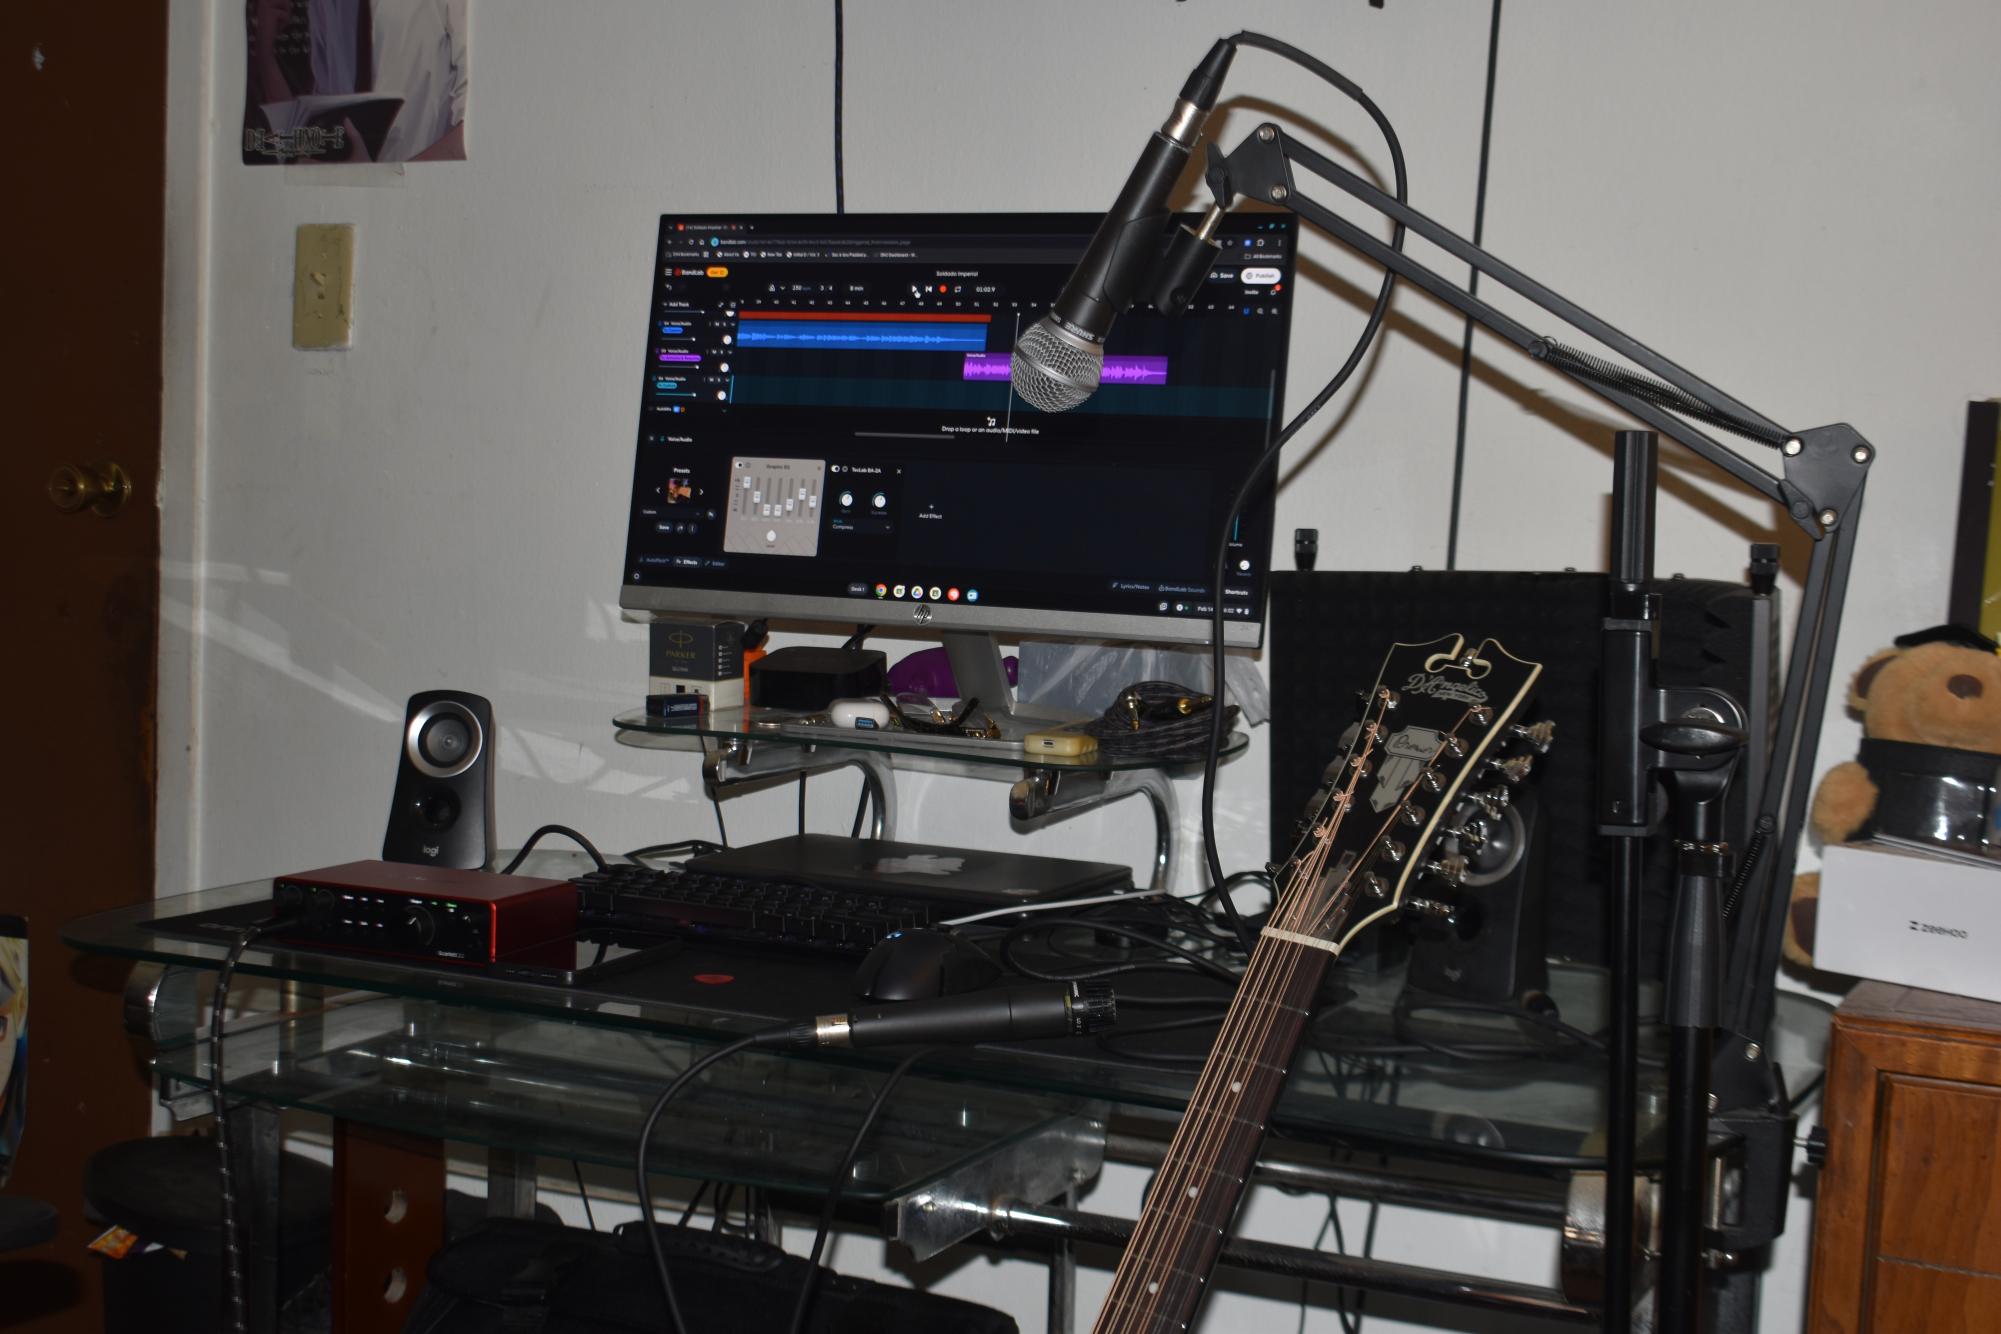
Emotions crowd one’s mind when playing a song, creating a hyped or sad feeling depending on the song’s vibe. Some people may wonder how the instrumentals were made — the moments in the studio, coming up with chords and melodies. The answer is not that complicated.
Iconic melodies make Billboard-winning songs, according to Billboard.com. Musicians can take their playing to the next level by learning to produce, mix with effects and create different sounds — and some do. There is a certain group of artists who enjoy music on a deeper level: finding, creating and replicating sounds. For them, performing is only part of the process; producing allows them to shape every detail of a track.
Producing music from a laptop can be a valuable skill to learn — and one that could turn into a career in the near future. Learning musicians — both intermediate and beginner — can, with practice, bring the melodies from the walls of their room into a home studio. With today’s technology, professional-quality production is more accessible than ever.
Instrument production from a home studio combines technical knowledge and creativity. If done properly, a small bedroom studio can compete with professional setups using today’s equipment. According to Focusrite.com, it is important to take time to develop sound design abilities, expand one’s ear, and gain a thorough understanding of the DAW (Digital Audio Workstation). Understanding how sound is captured, edited and enhanced is what separates a rough demo from a polished track.
Here are the step-by-step instructions necessary to produce music.
(Photo by Jiovanni Hernandez)
Step 1
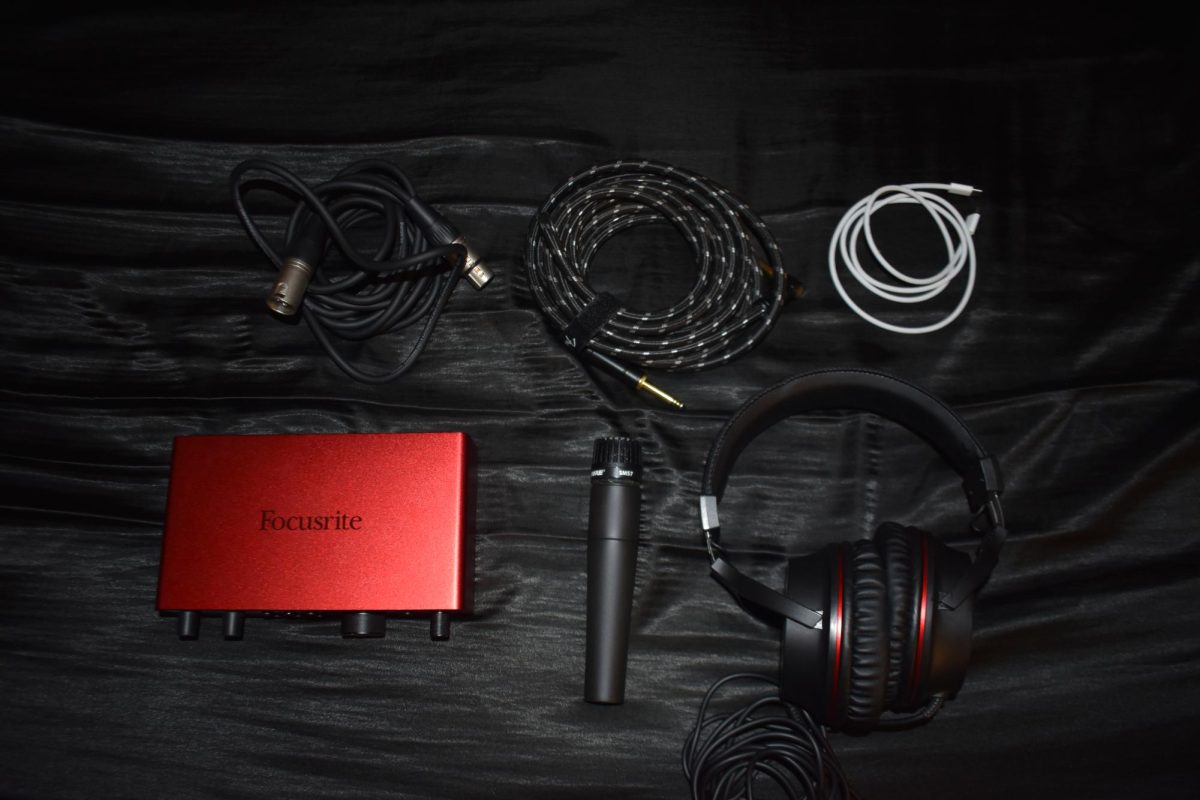
To record instruments using a DAW and an audio interface, first connect an instrument or microphone to the interface. These are the tools an artist will need.
To start recording, the fundamental tools below are necessary:
- Main instruments
- Computer (PC or Mac) – The center of your production.
- DAW (Digital Audio Workstation) — software like Logic Pro, FL Studio, BandLab or GarageBand. (For beginners, BandLab is a simple option.)
- Audio Interface – Converts analog sound (microphones/instruments) into digital audio.
- Studio Monitors or Headphones – For accurate sound playback.
- Microphone – For recording vocals or acoustic instruments.
- Cables – For Instruments/microphones
- Mic stand
- Type C cables
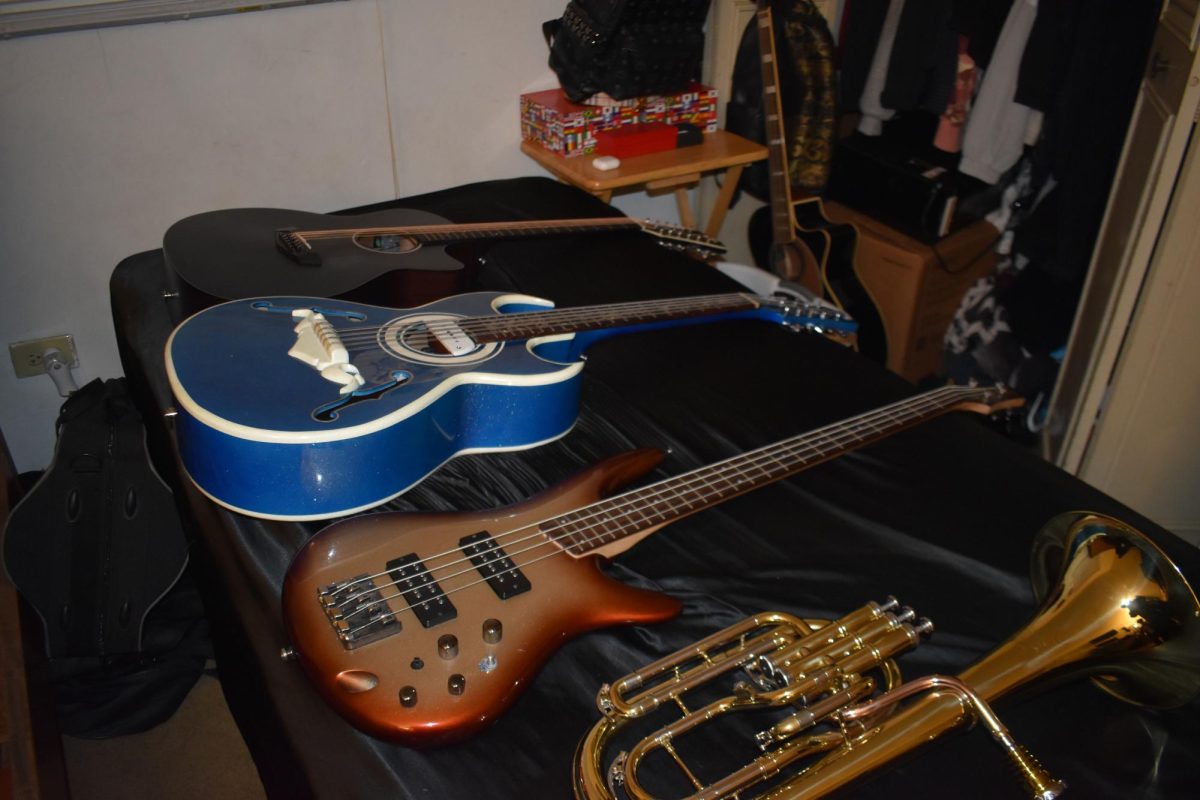
Instruments are the fundamental piece of a recording, but they are not the main focus; the main focus is the artist playing in their own style. Even with high-end equipment, creativity and performance are what ultimately define the sound.
(Photo by Jiovanni Hernandez)
Step 2
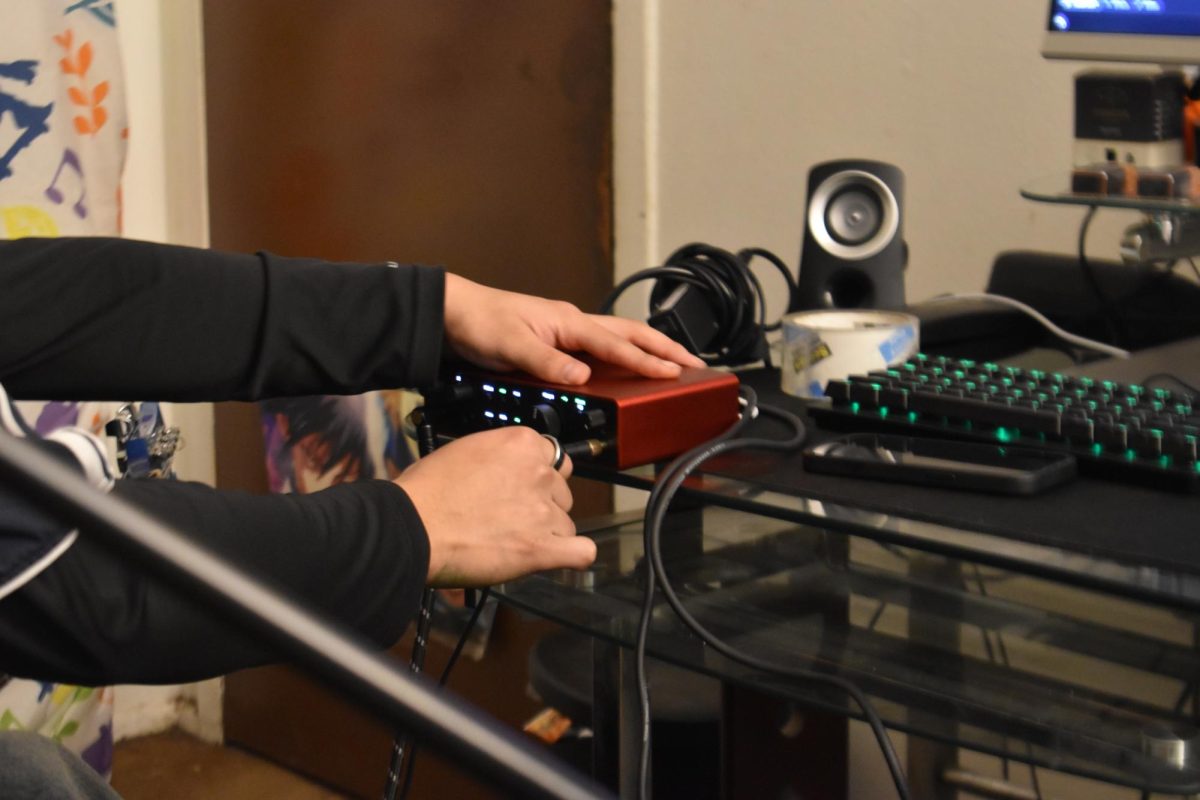
Connect the audio interface to the computer, open the DAW and select the interface as both the input and output device in the audio settings. This ensures that the sound being recorded and played back runs through the correct hardware.
(Photo by Abran Lopez)
Step 3
Create a new audio track. Labeling tracks clearly — such as “guitar,” “vocals” or “piano” — helps keep the session organized, especially when layering multiple sounds.
Step 4
Enable direct or software monitoring to hear the music through headphones or monitors. Monitoring allows the artist to hear themselves in real time while recording, which helps with timing and pitch accuracy.
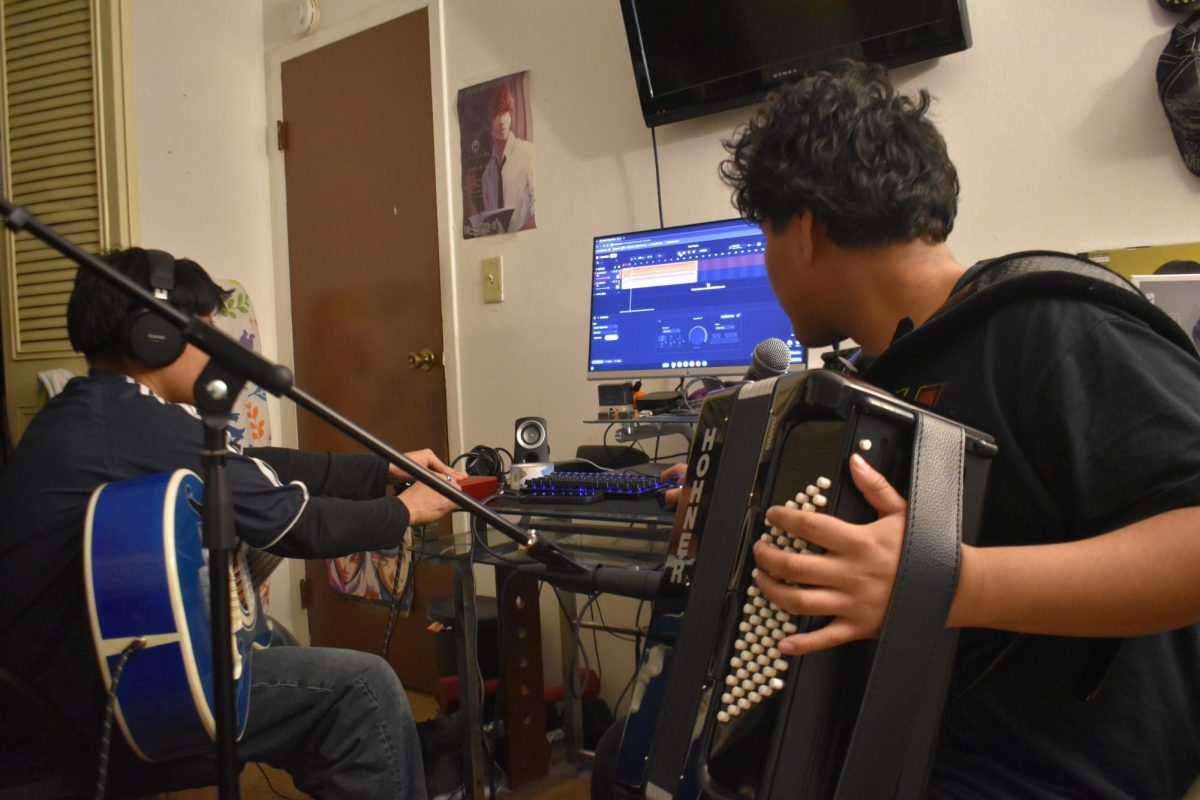
Step 5
Press record in the DAW and perform the assigned part of the song. Multiple takes may be necessary to capture the strongest performance.
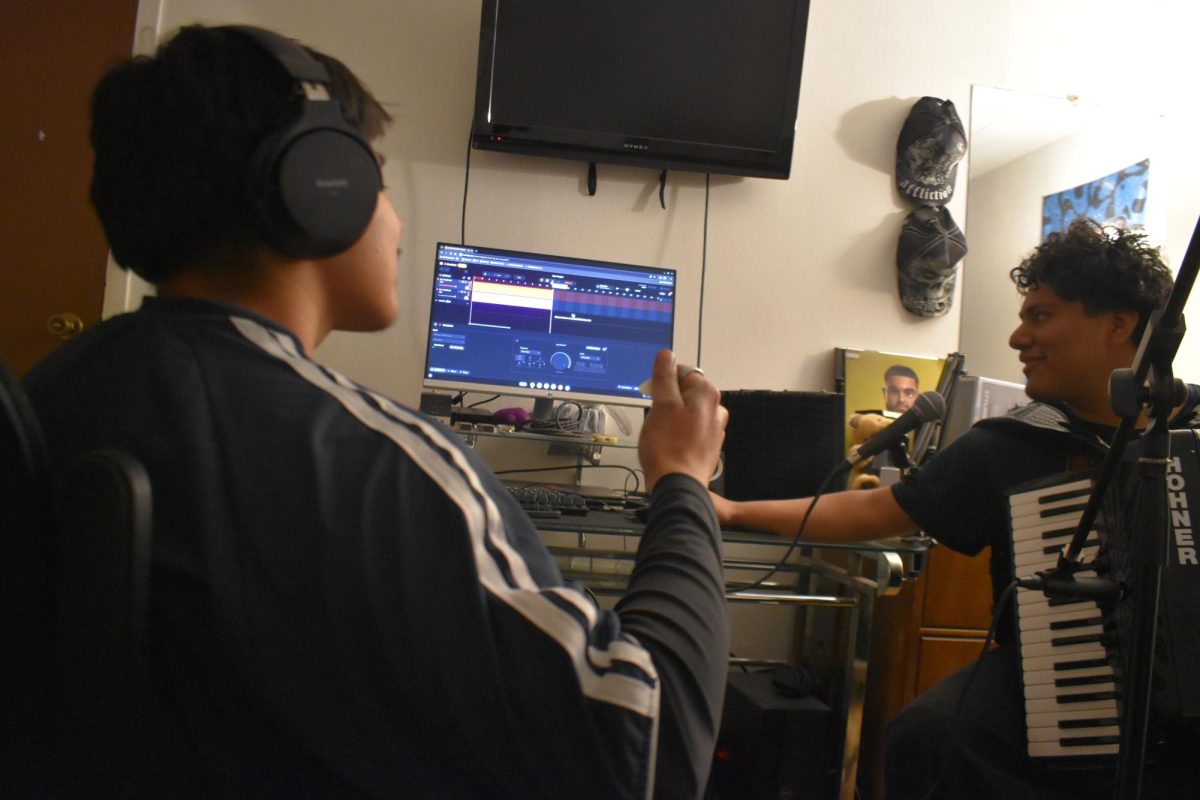
(Photo by Abran Lopez)
Step 6
After recording, add effects such as amp simulators, EQ or compression, and edit or re-record as needed for the best take. Effects like reverb, echo and distortion can enhance the final sound, according to LANDR. EQ can shape frequencies, compression can control dynamics and reverb can add depth, helping the track feel fuller and more professional.
Starting a project is already half the battle. The more projects created, the better one becomes. Get the best possible sound before it hits the DAW. Proper mic placement, fresh strings, tuned instruments and correct gain staging matter more than plugins. If it sounds good going in, it will sound good coming out. Strong recordings reduce the need for heavy editing later.
If playing feels delayed, lower the buffer size while recording or use direct monitoring on the interface. Small technical adjustments like this can make a significant difference in performance quality.
Kevin Armas • Apr 7, 2026 at 11:43 am
Yo its cool you do this as a hobby, you gotta go pro. You should low-key sell/make your own starter kit for those who want the best value for their money