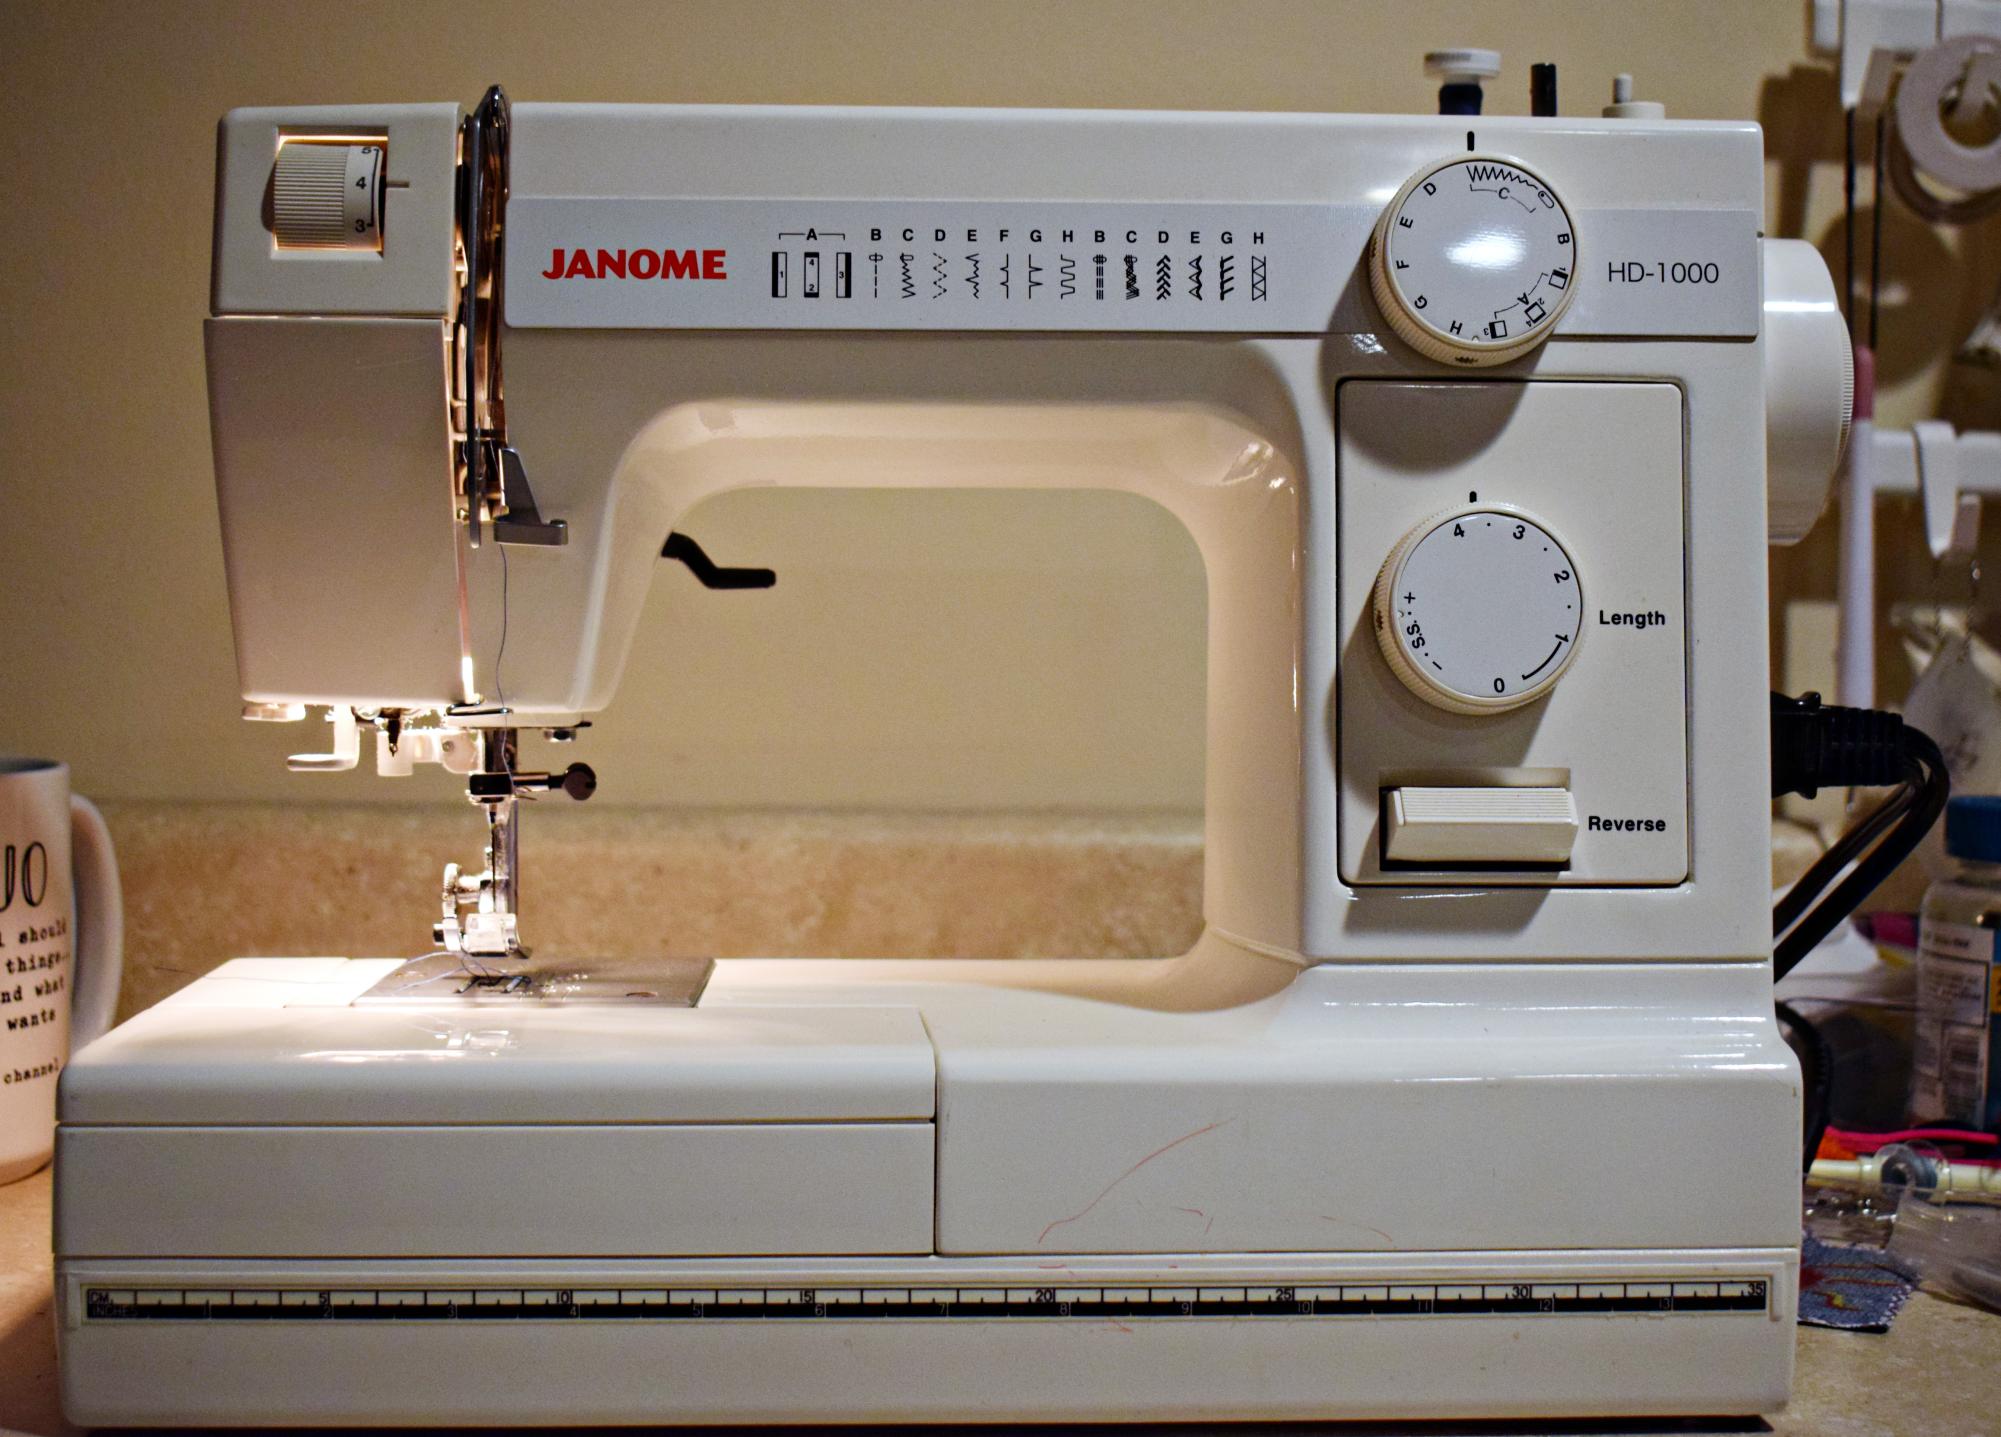
Sewing machine. Thread. Felt and stuffing. Pins and clips. And, of course, a pattern. These are the materials one needs to make a plushie.
Stuffed plush toys — often called plushies — have roots in early 20th-century toy history, beginning with the popularity of teddy bears and other soft toys. Over the decades, plushies have become increasingly popular around the world, especially as characters from movies, games and pop culture joined the lineup. According to CashyMart, plushies are now beloved by people of all ages and have grown into a wide market with collectible and custom designs.
Making a plushie at home adds a personal touch that store-bought toys can’t replicate. Whether it’s a favorite animal, a character from a show or a custom creation, sewing plushie allows the creator to bring their ideas to life.
So, here are the simple steps necessary to sew a plushie.
The necessary tools to complete this project can easily be obtained at a local craft store such as Michael’s. (Photo by Carter Pensinger)
Step 1
First, gather materials: a sewing machine, thread, fabric scissors (or any available, but fabric scissors are preferred), fabric (felt is preferred), buttons (optional), stuffing, pins/clips, and a pattern.
Note: patterns can be found online or drawn out on paper.
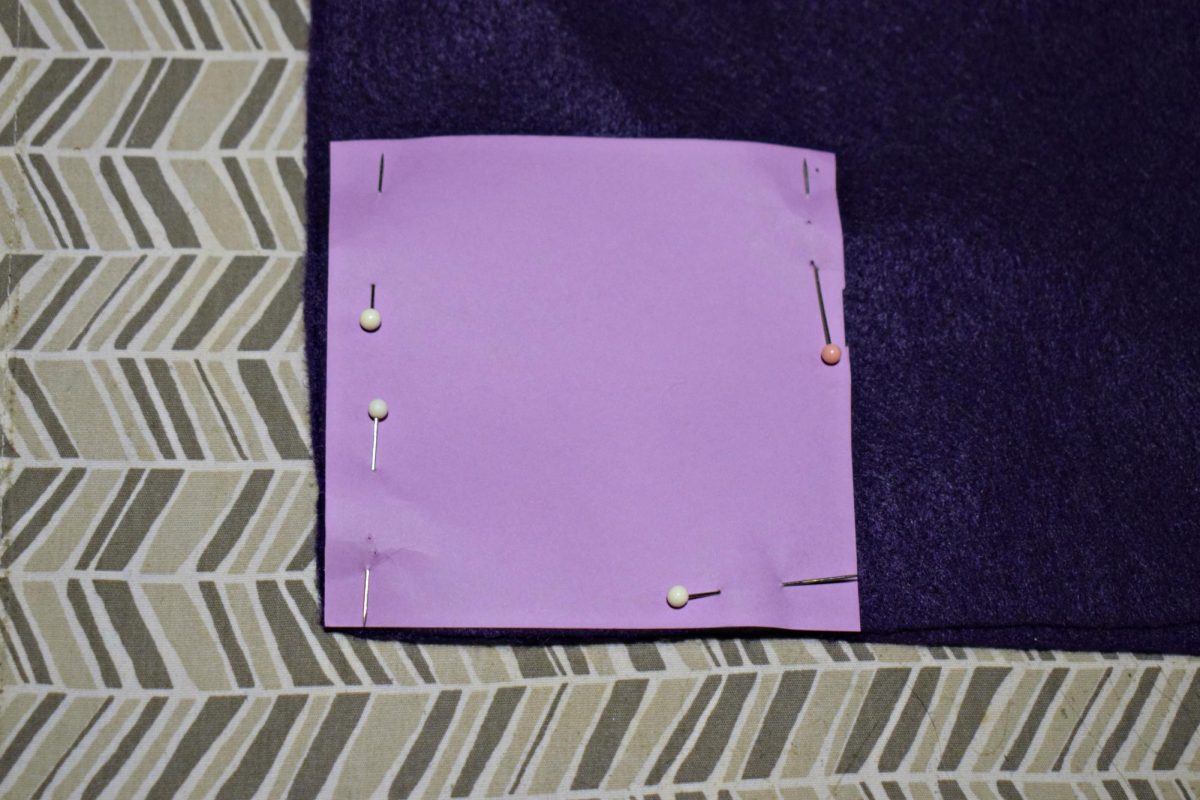
A square template pinned to a piece of felt serves as the pattern for this demo. (Photo by Carter Pensinger)
Step 2
Cut out the pattern, then use a fabric marker to trace around the pattern on the felt.
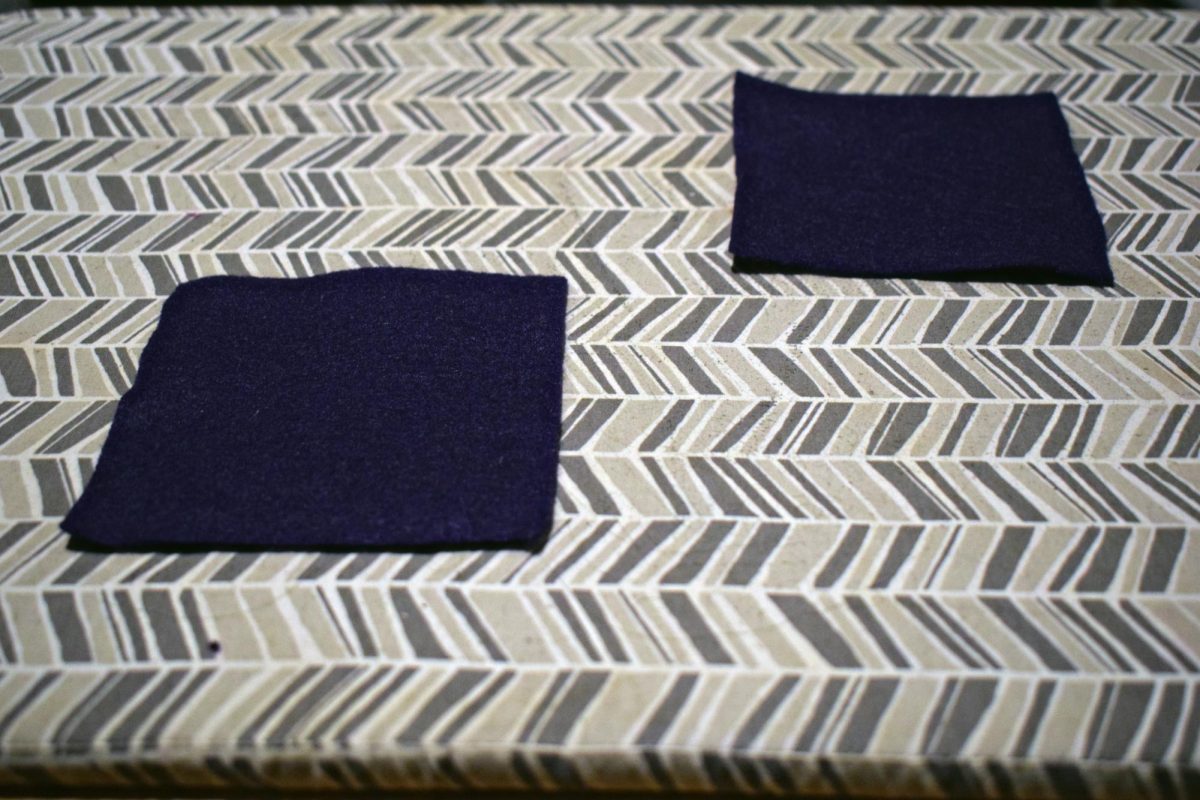
It is important the two pieces of fabric equal each other in terms of size and shape. (Photo by Carter Pensinger)
Step 3
Cut out two pieces of fabric — they must be the same shape and size. It may be easier to cut both pieces at the same time.
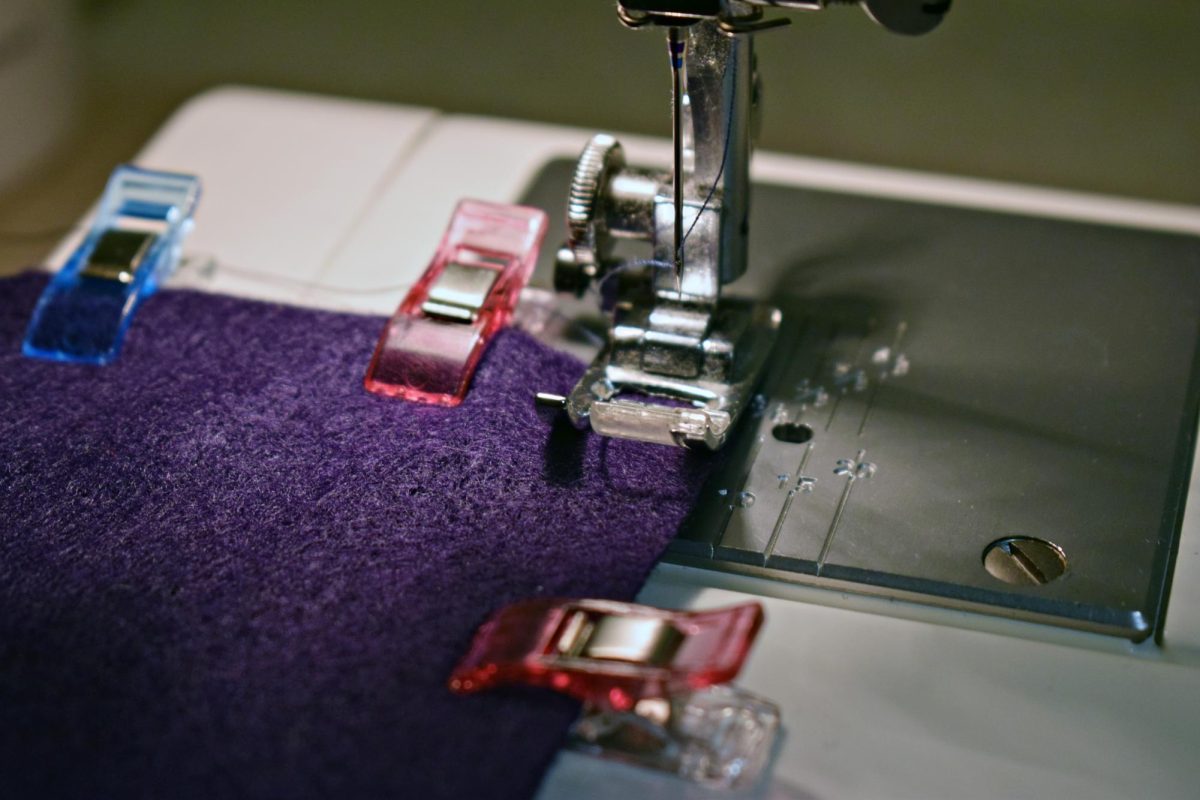
The two pieces of felt should be clipped together to ensure they line-up. Pins may also be used, and may be easier for sewing purposes. (Photo by Carter Pensinger)
Step 4
Once the shape is cut out, clip or pin the two pieces of fabric together so they do not move during sewing. Forgetting to pin or clip the pieces together while sewing means the two pieces will move around a lot and will not be equal.
Step 5
Next, start sewing. Make sure the machine is properly threaded because it will not sew.
Aim for a half-inch seam allowance or less. The sewing machine should include guidelines that allow for fairly straight seam lines. (Photo by Carter Pensinger)
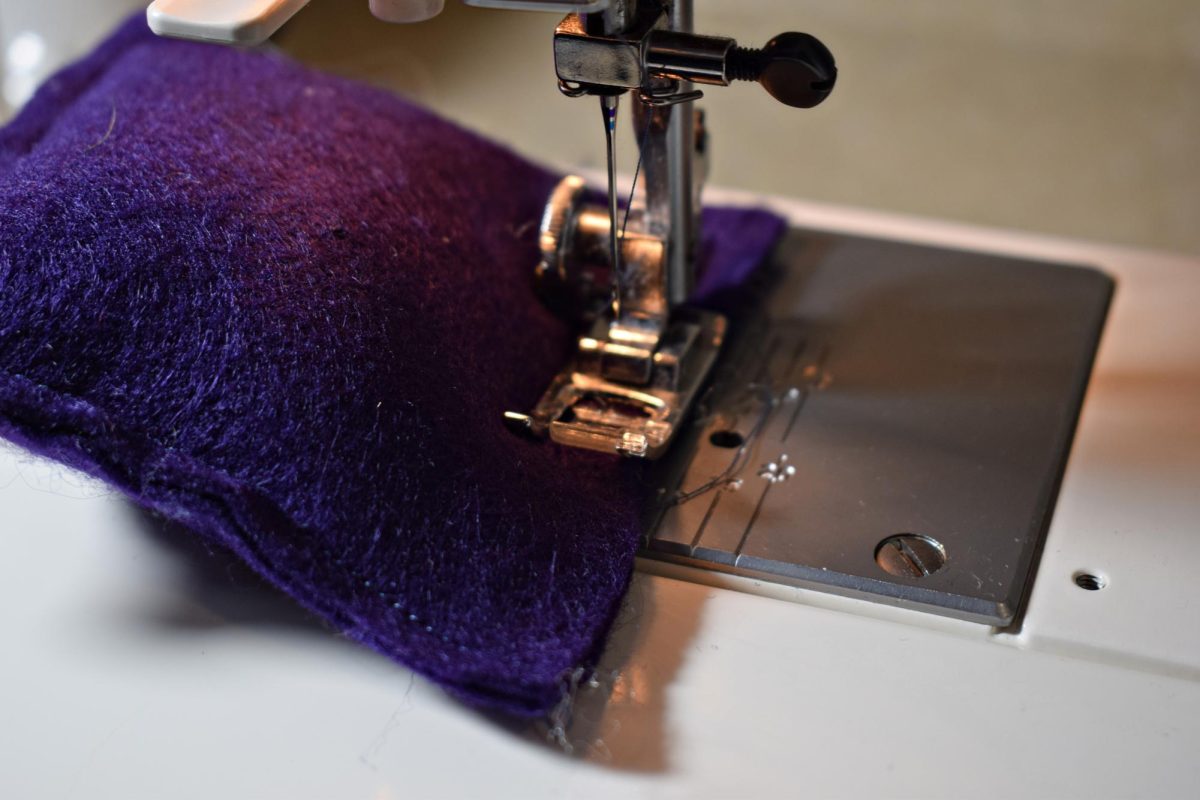
Step 6
If the machine is properly threaded, take the two pieces and begin sewing them together using a straight stitch. Sew around the edge of the shape, using about a half-inch seam allowance, and try to keep the stitching straight. Do not sew all the way around: leave an opening of a couple of inches so the plushie can be stuffed.
A small opening allows the stuffing to fill the plushie and can be sewn by hand after the process is complete. (Photo by Carter Pensinger)
Step 7
After finishing the sewing process, minus the opening, of course, stuff the form by just pushing the stuffing in, making sure it gets all the way in, and fill any crevices.
Even those with little sewing experience can create a plushie: the process is forgiving, and mistakes are easily hidden. (Photo by Carter Pensinger)
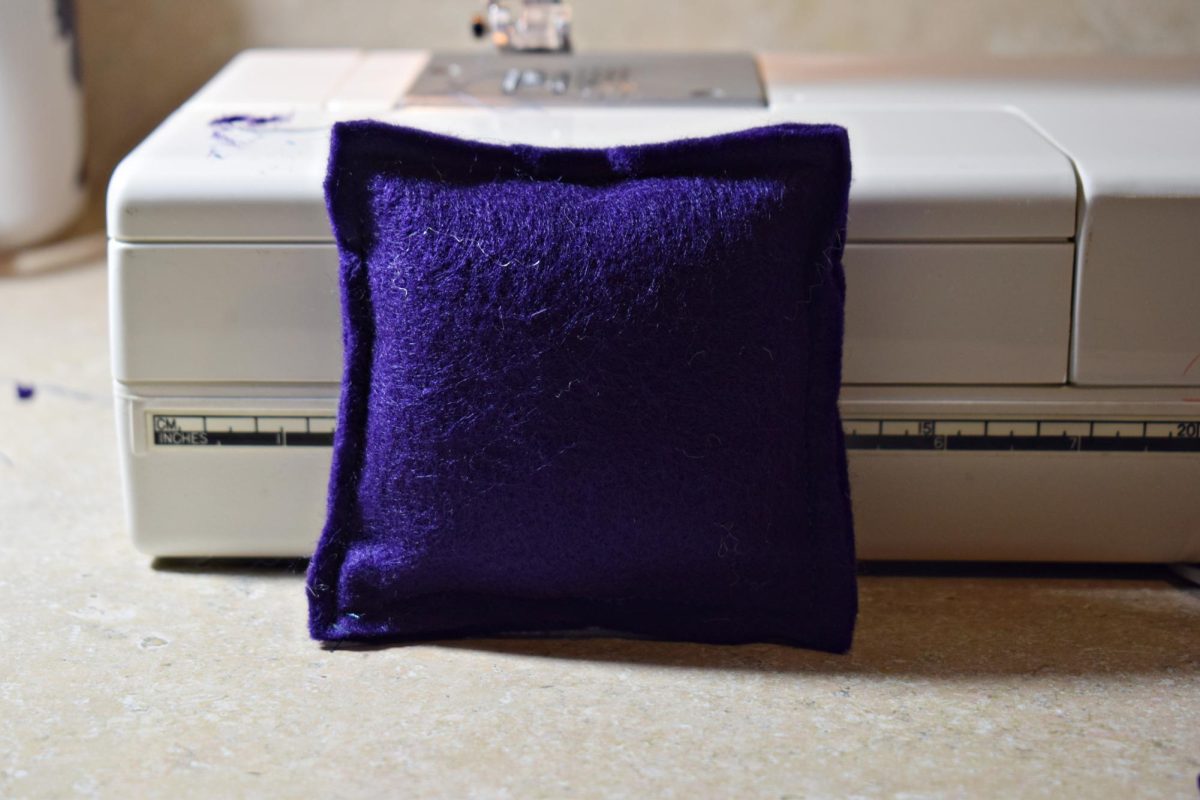
Step 8
Finish sewing the remaining opening shut.
The finished plushie: once the basics have been mastered, even novice sewers can create more intricate designs such as cats, bears, and more. (Photo by Carter Pensinger)
Step 9
Trim the hanging threads, and the plushie is finished!
It is very important to stay calm throughout this process. If something gets a little messy or a mistake happens, just keep going.
Sewing is valuable because it can help save money — making a plushie instead of buying one can be cost-effective — but most importantly, those who try this process can feel the accomplishment of creating something by hand and expressing their creativity.
Your donation will support the student journalists of West Chicago Community High School. Your contribution will help us cover our annual website hosting costs. We appreciate your support!
Donate to Wildcat Chronicle
$241
$500
Contributed
Our Goal
Submitting donation...
Thank you for your donation! We are so grateful for your support, both as a reader and a donator.
There was an issue submitting your request.
Comments (0)
Any comment made will go through the Wildcat Chronicle to be approved.
Obscene, suggestive, vulgar, profane, threatening, disrespectful, defamatory language will not be published. Attacks made towards race, gender, sexual orientation, or creed will not be tolerated.
Comments should be relevant to the article or the writer; please respect the author and the other commenters. Comments must be 300 words or less.
All comments are the property of the Wildcat Chronicle after being submitted. In order to submit a comment, a valid e-mail address must be used, and the email must be verified. Impersonating another person’s name is prohibited.